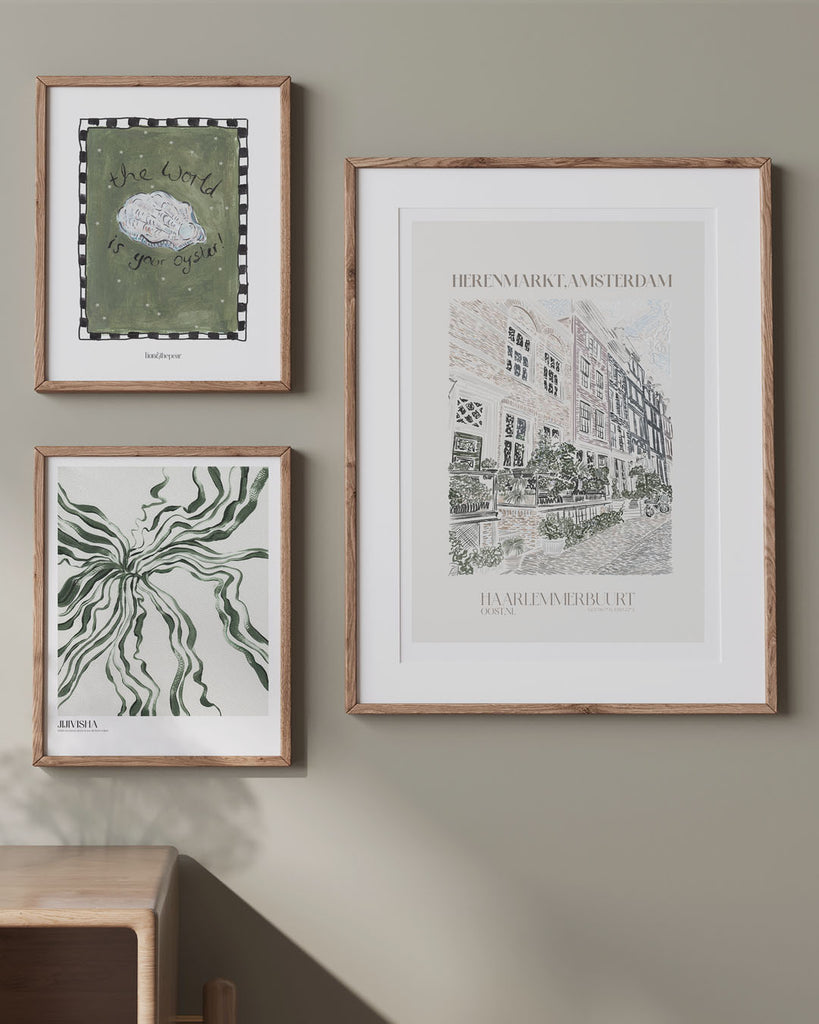
Curate The Perfect Gallery Wall With Lion & The Pear


Step 1: Choose Your Wall
The first step in creating a gallery wall is to select the perfect wall in your home. It could be a blank wall in your living room, hallway, bedroom, or even the staircase. Consider a wall that gets enough natural or artificial light, as good lighting is crucial for showcasing your artwork.
Step 2: Select Your Artwork
Now comes the fun part – selecting the artwork that will adorn your gallery wall. You can mix and match various types of artwork, including:
- Framed Photographs: Family photos, vacation snapshots, or personal portraits.
- Art Prints: Choose artwork that resonates with your style and complements your home's decor.
- Mirrors: Mirrors can add depth and elegance to your gallery wall.
- Quotes and Typography: Inspirational quotes or typography art can be a unique addition.
- 3D Objects: Mix in some decorative objects like small shelves, plates, or sculptures.
Ensure that the artwork you choose reflects your personality and the atmosphere you want to create in your home.
Step 3: Plan Your Layout
Before hammering any nails, plan the layout of your gallery wall. Lay your artwork on the floor to experiment with different arrangements until you find a configuration that you love. Consider factors like balance, symmetry, and spacing between the frames. You can opt for a uniform grid, an eclectic mix, or a symmetrical layout depending on your style.
Step 4: Gather Your Supplies
To hang your artwork securely, you'll need the following supplies:
- Picture Frames: Ensure they are clean and in good condition.
- Nails, Screws, or Picture Hooks: Depending on your wall type.
- Measuring Tape and Level: For precision in placement.
- Pencil and Marking Tool: To mark where to place your hardware.
- Hammer or Screwdriver: To secure your artwork.
Step 5: Hang Your Artwork
Start by marking the positions of your artwork on the wall using a pencil and a level. Measure the distance between each piece to ensure they are evenly spaced. Next, attach your hardware, whether it's nails, screws, or picture hooks, and hang your artwork accordingly. Use a level to make sure everything is straight and aligned.
Step 6: Fill the Space Between
To create a cohesive look, consider adding decorative elements between your artwork, such as small shelves, sconces, or decorative plates. This will break up the space and add dimension to your gallery wall.
Step 7: Personalize and Update
Your gallery wall doesn't have to be static. Feel free to update it as new memories are created or as your style evolves. Rotate artwork, change frames, or add new pieces to keep your gallery wall fresh and exciting.
Conclusion
Creating a gallery wall is an excellent way to transform your home and showcase your unique personality and experiences. Whether you're decorating your living room, bedroom, or any other space, follow these steps to curate a gallery wall that tells your story and adds charm and character to your home. Remember, there are no strict rules in art and design, so let your creativity flow and have fun with the process!


